It started with a Cheng Teng.
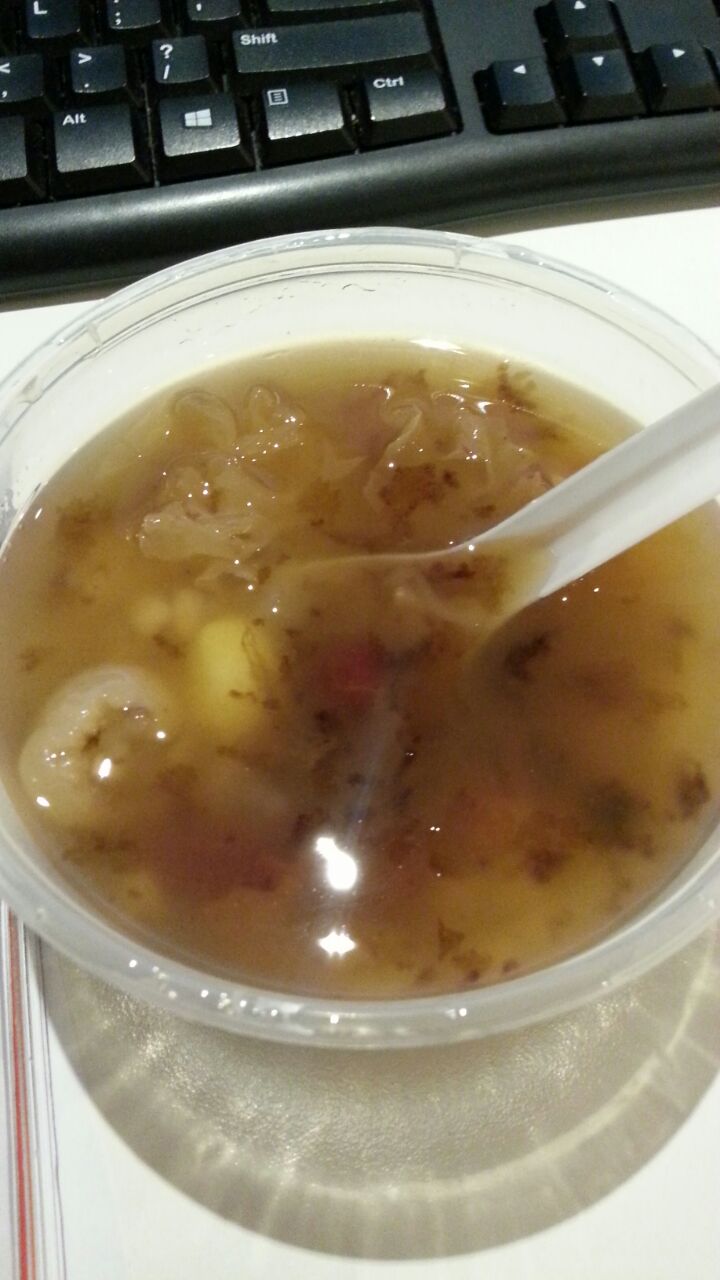
My colleague had made some delicious Cheng Teng the night before and brought some for all of us the next day. I shared a photo with my family of the healthy snack and next thing I knew, my mum was craving for Orh Nee.
“Okay…..?”
So on a long, lazy Sunday like today, it was really not that surprising to come back from lunch with my friend to see my mum peeling shallots at the dining table, a huge yam, and the printed recipe from Hedy Khoo in the kitchen.
As some of our experiments in the kitchen go, this one was one of the more successful with the sticky, sweet paste coming out mostly like how it’s meant to be and with minimum sniping between mother and daughter. A win in my books.
We learned some valuable lessons though, and I fear a burgeoning phobia of Orh Nee in me.
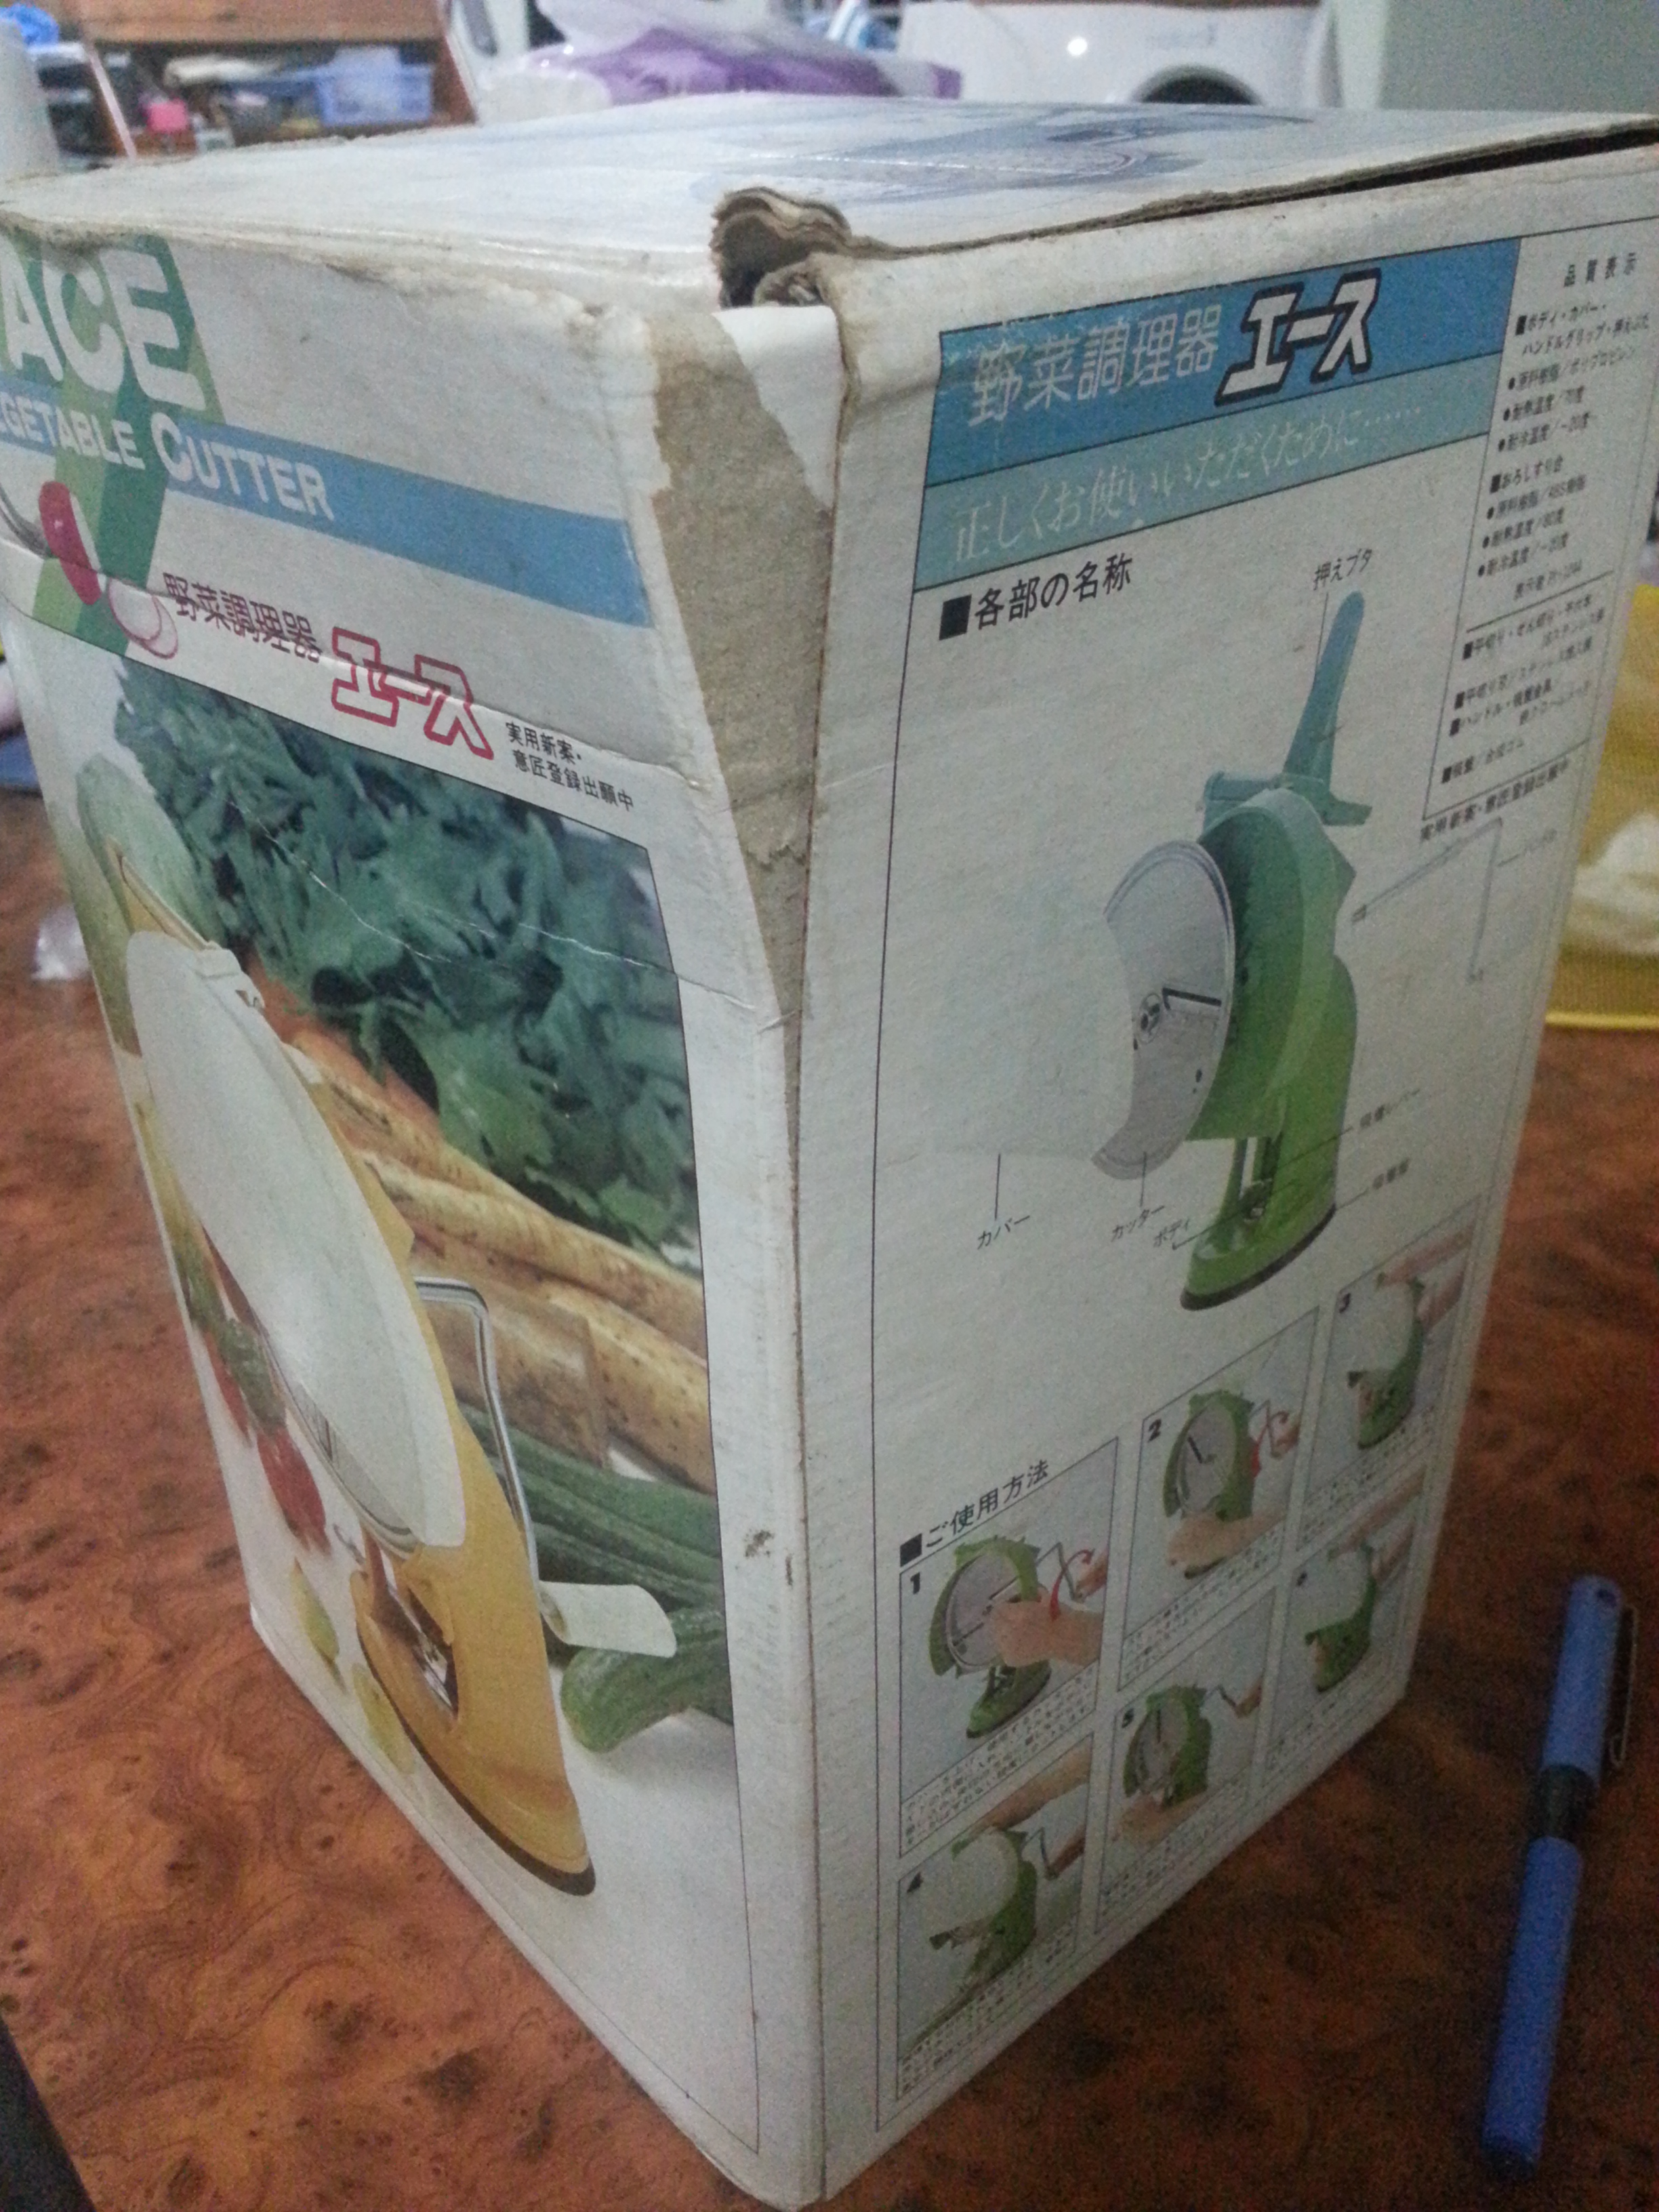
As I was typing more stuff in my computer, my mum had done the hard work of peeling the yams and pumpkins. The shallots were done before I came back to I helped julienne them with an ancient but nifty vegetable cutter we forgot was hidden in the cupboard.
The yam was cut and here comes…
 Tip #1 – Wash your hands and arms frequently while cutting yam. My mum itched all over. I got a bit of it from just cutting the yam in half to help her start it off too.
Yam sap is known to cause severe itching in some cases. My skin is not naturally sensitive but I was scratching for about an hour. So be warned.
The scary thing about this Teochew dessert that most people didn’t know is that it calls for about a litre of oil. Yes. 1 Litre. As in, 1000 ml of oil. We used vegetable oil because the recipe was a healthier one. The original recipe called for lard.
The shallots were frying nicely. Why shallots? Because we needed fragrant oil which could only be gotten from frying shallots. You don’t need the shallots themselves so you can keep them for some other deathly unhealthy meal you’re going to make next weekend.
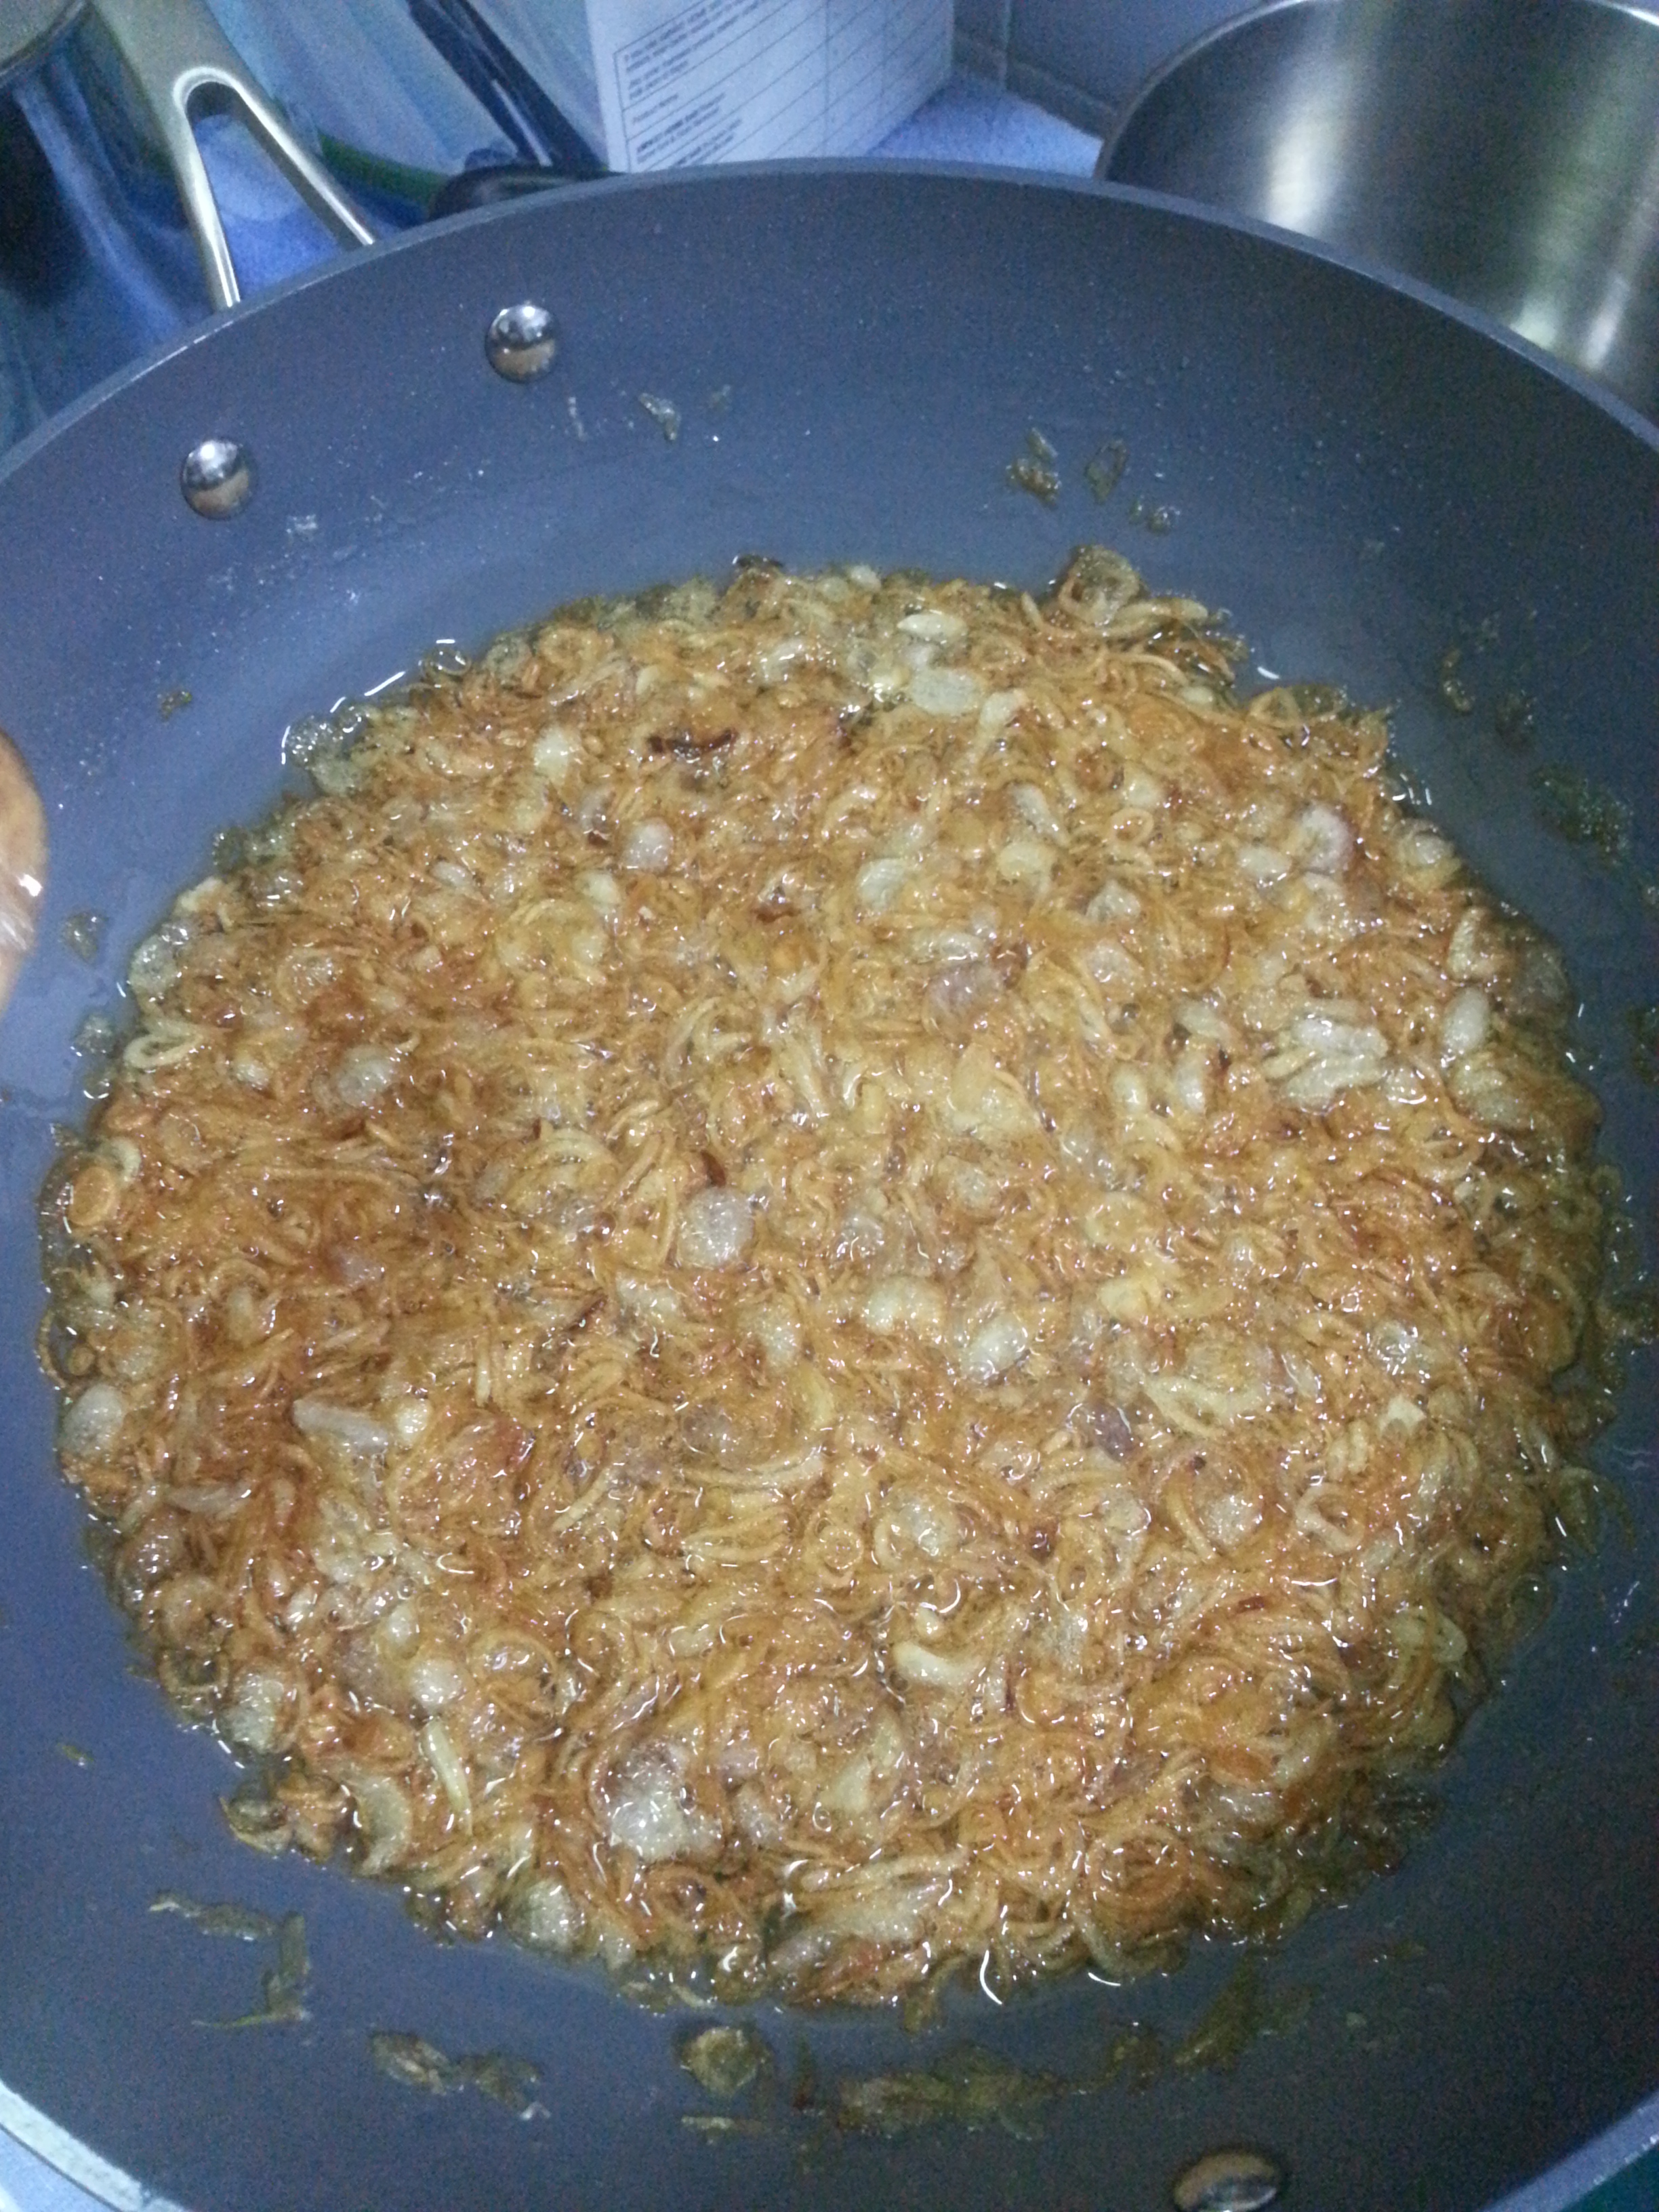
Tip #2 – Do not over-fry the shallots. Don’t forget, you’re using the oil. It is more or less the essence of the fried shallots.
By the way, these will be the prelude to a few other tips coming up.
Our ever-handy steamer had a huge role to play when we steamed the yam and pumpkins. If you don’t have one of these, I highly recommend it. Turns out, it’s not only used for Cupped Corns. It’s healthy and a breeze to handle. We prefer using it to heat up food to the microwave (yes, we still use one. The horrors!!) on days when we have slightly more time because it heats up really quick.
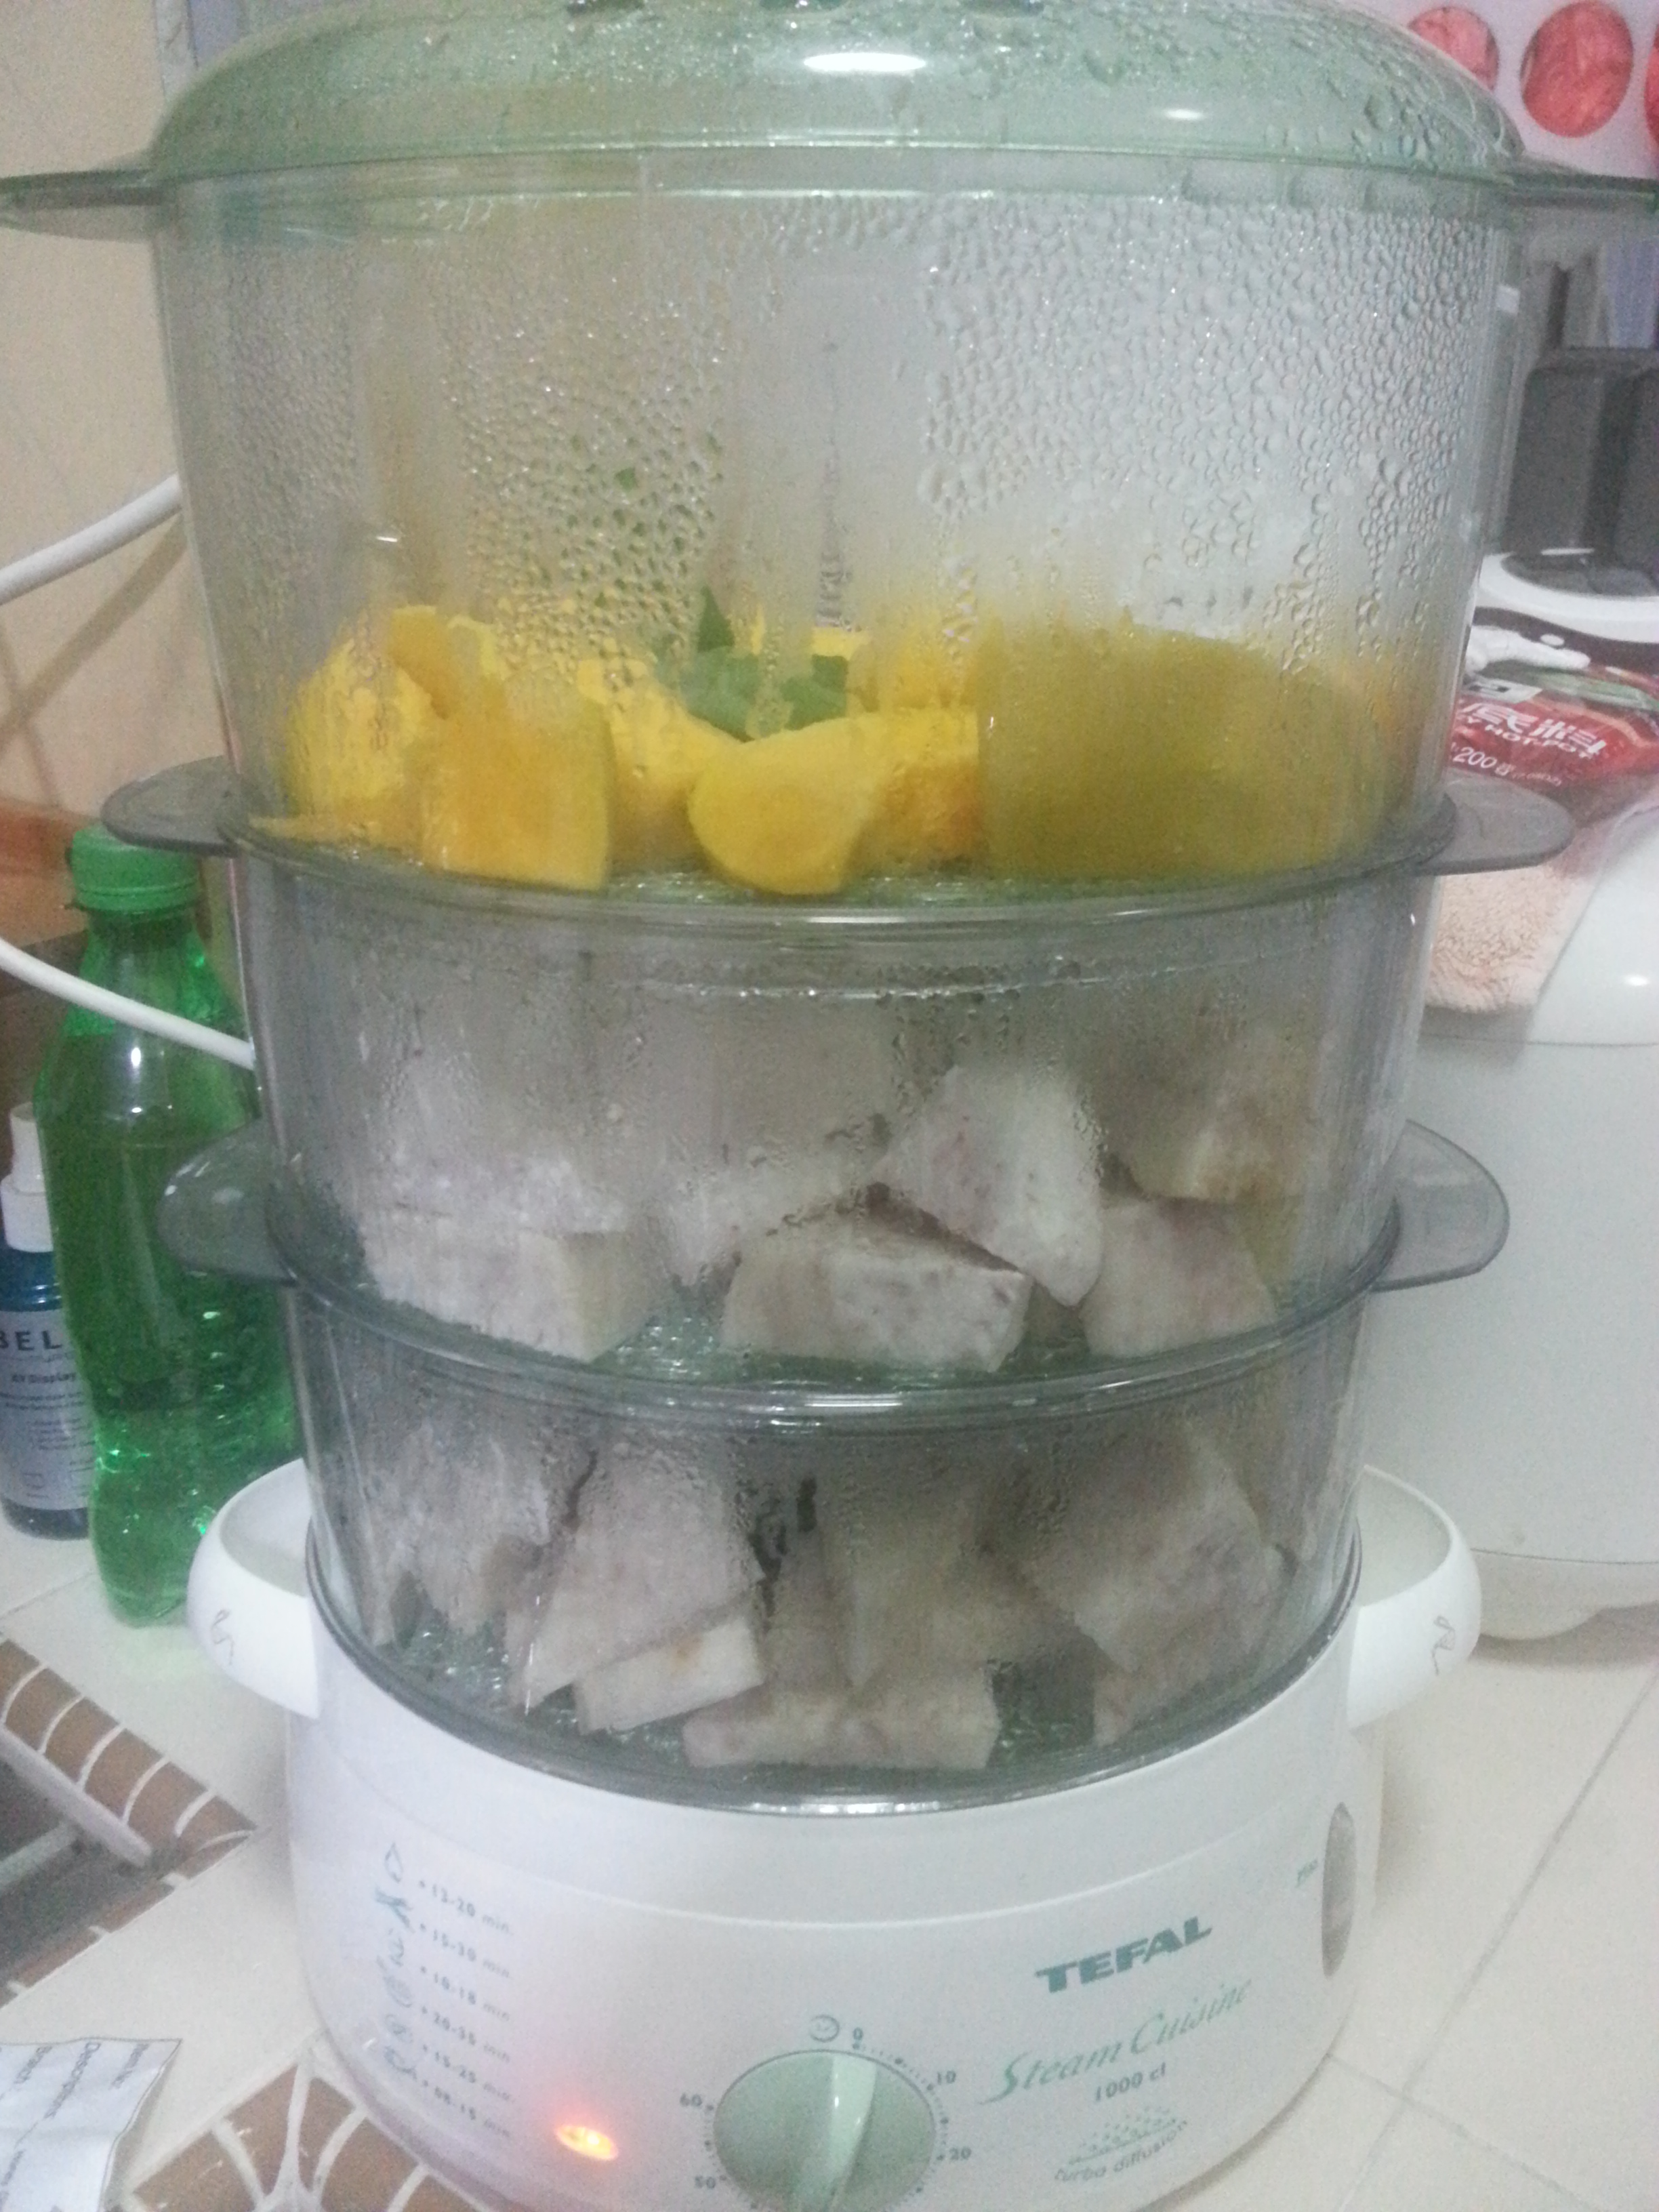 In fact, I love it so much, I’ll put it as Tip #3 – Get a steamer.
We moved on to smashing the root vegetables and then the finishing touches of the Orh Nee. This includes pouring in a heart attack-inducing amount of oil into the yam and stirring it.

On to quick fire tips.
Tip #4 – Don’t pick at the fried shallots. They’re addictive.
Tip #5 – Add the minimum recommended amount of oil, or less, into the yam and stir.
Tip #6 – Let the Orh Nee sit for a few minutes (heat off) before adding more oil or sugar. Don’t add more oil yet, even though it looks dry!! The oil re-emerges after a few minutes.
 Tip #7 – Have a cup of hot green tea or water on standby beside you. Rinse your mouth between taste tests. The heavy taste of the paste and the oil might overpower you after a couple of tastes, and cause you to not realise you are over-seasoning.
Tip #7.2 – Make sure you did not eat the shallots before tasting, or at least rinsed your mouth with some hot tea after. (Refer to Tip #3 and #6)
I learnt this the hard way because I took 3 bites and just turned to my mother and just said I could not take one more bite. 2 cups of hot green tea later and I’m still tasting shallots.

We did not do the final blending as our blender was out of commission. But if you’re not picky over baby smooth Orh Nee, it’s no issue. Equally good.
I’m sure I’ll get over it though and we’ll try this again, some time in the next few weeks months. But I hope you try it too and let me know how your experience goes in the comments below.
Cooking up a storm,
The Curious Passenger
